Affiliate disclosure: This post contains affiliate links. If you buy through them, we may earn a small commission at no extra cost to you.
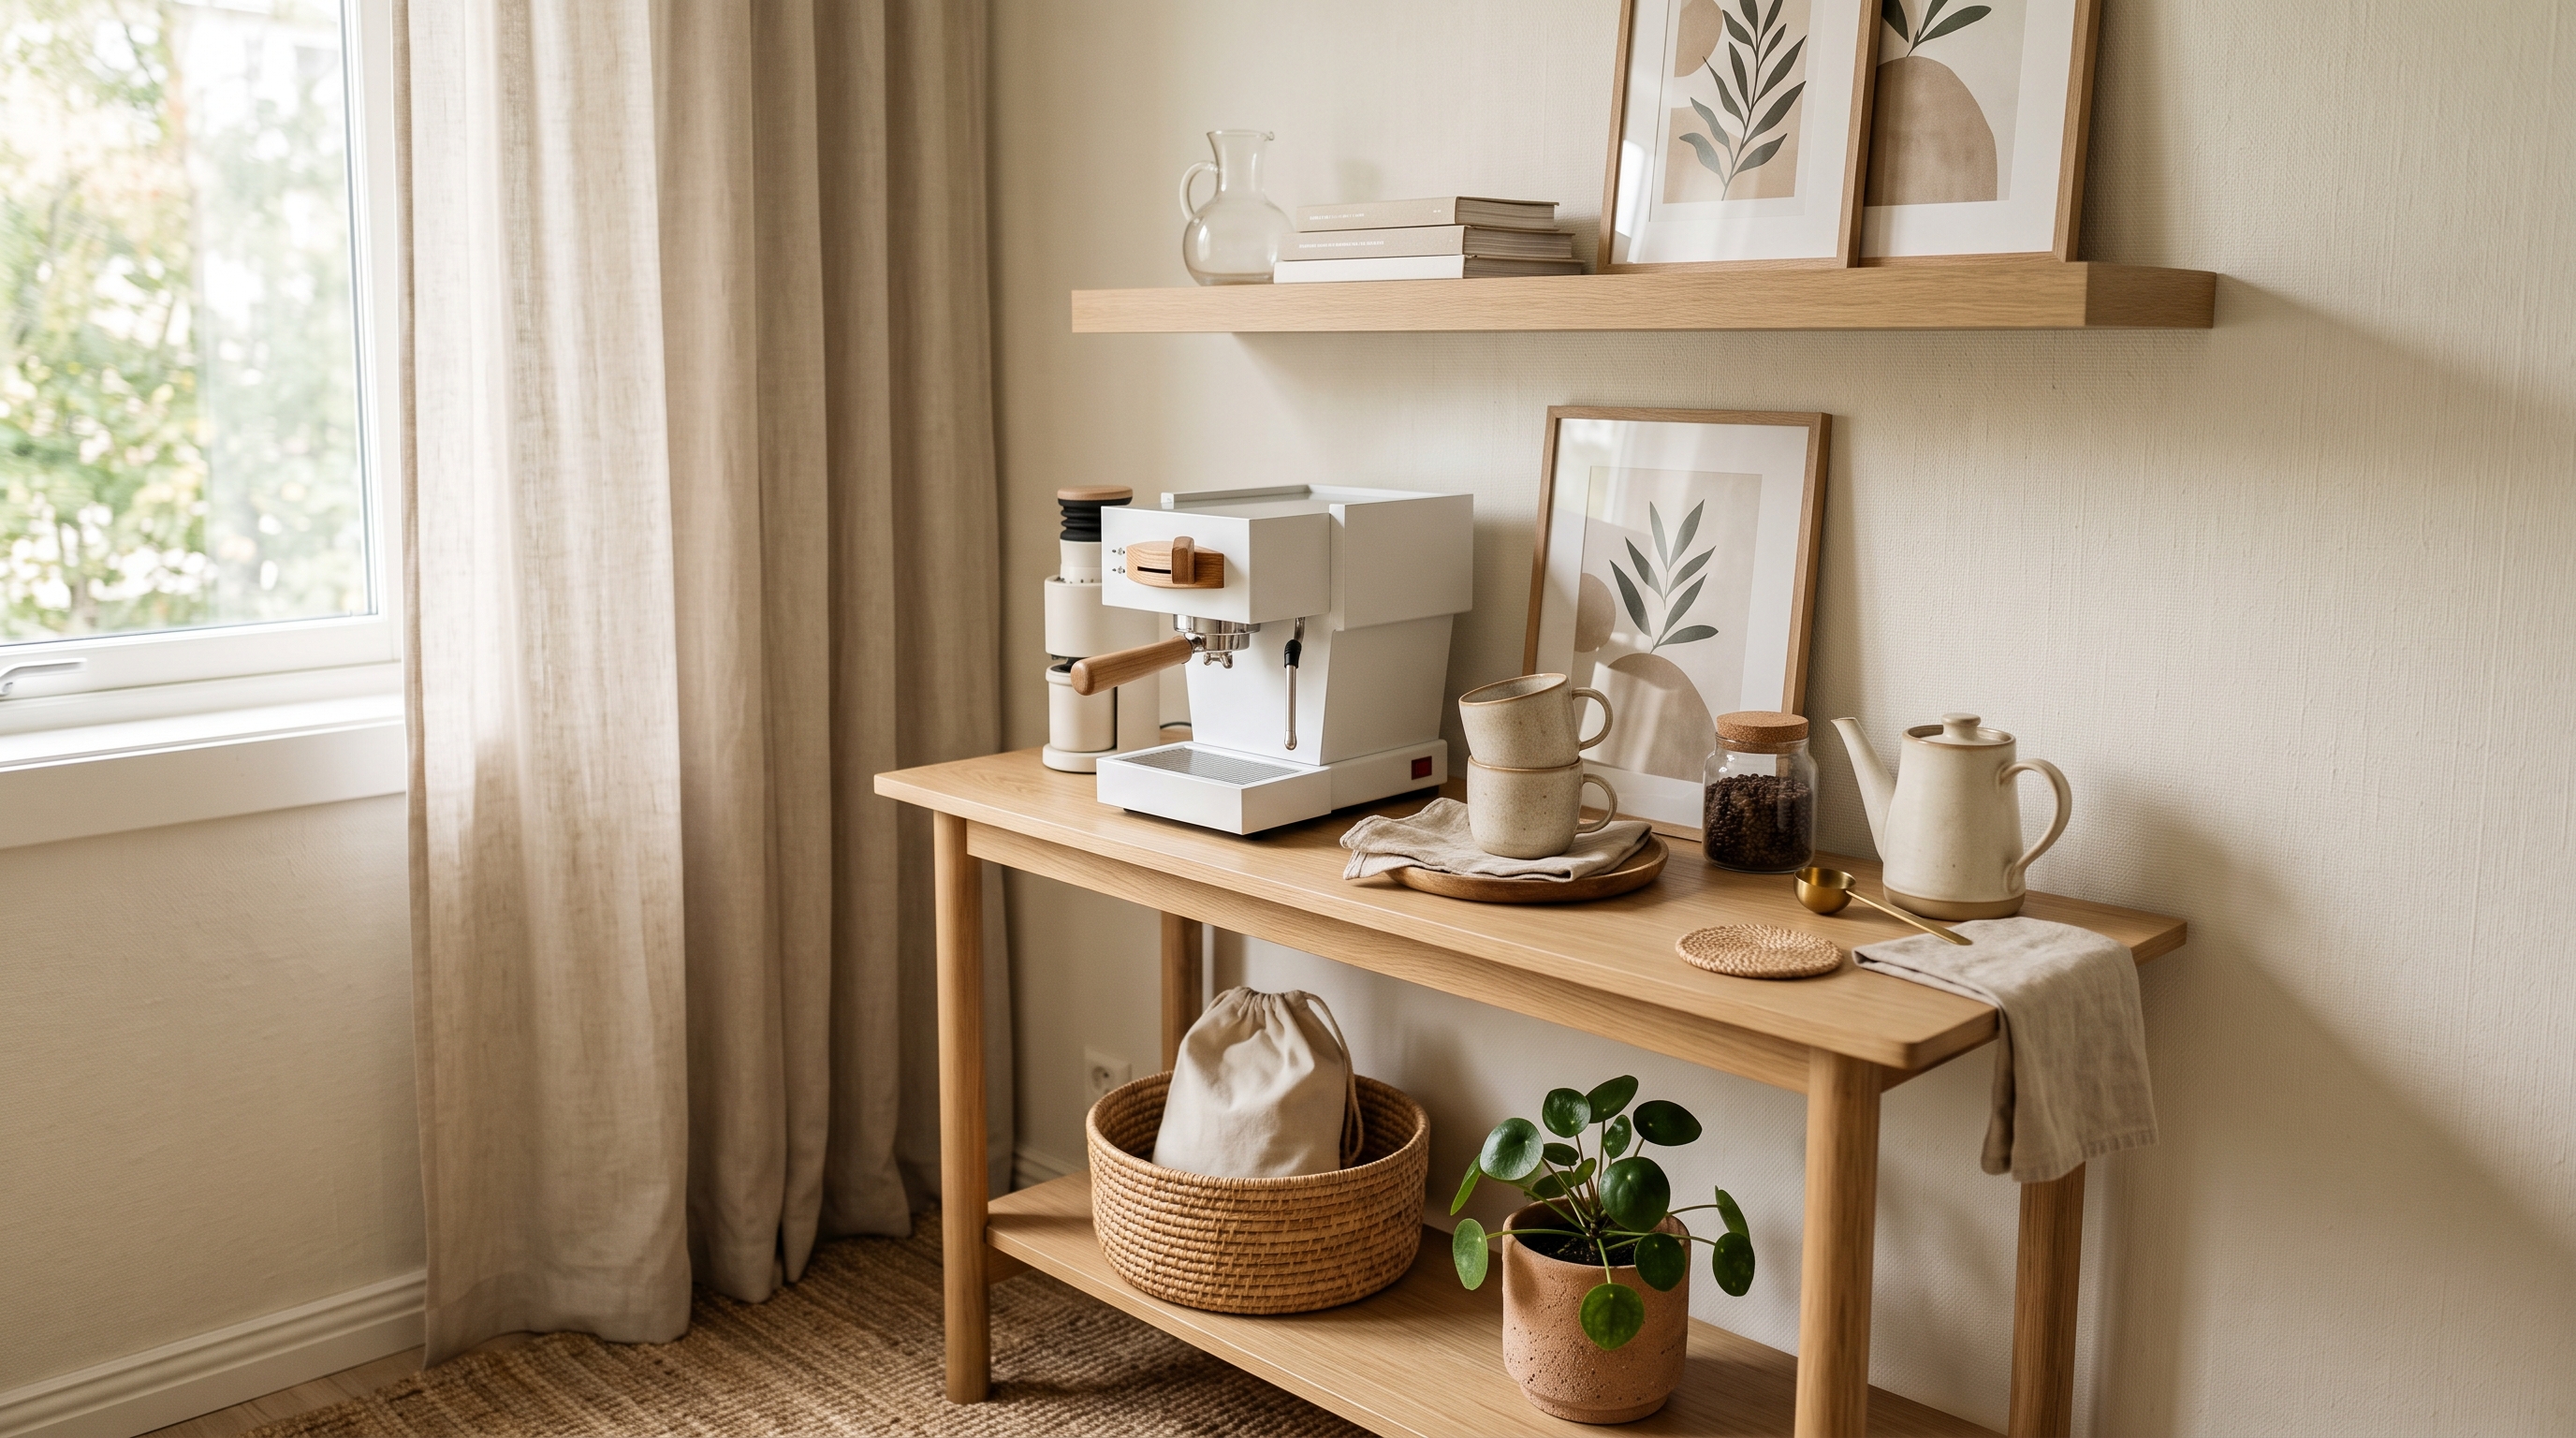
The morning coffee routine spreads. It starts with a machine and ends with beans in a folded bag, pods loose in a bowl, mugs in three different cabinets and a sticky ring where the sugar lives. A coffee station gathers all of it into one small, calm zone — so the first thing you do each day feels like a ritual, not a scramble. You don't need a butler's pantry. A corner of counter, a cart, or a single shelf is plenty.
Step 1: Pick the zone and pull everything to it
Choose the spot first. Ideally it's near an outlet and not in the main cooking path, so a second person can make coffee while dinner happens. A stretch of counter works; so does a rolling coffee cart tucked into a nook, which gives you a machine surface on top and storage below without a renovation. Shop on Amazon → Now gather every coffee thing in the house to that zone: machine, beans, pods, filters, mugs, sugar, spoons, the travel tumblers. Seeing it all together tells you how much storage you actually need.
Step 2: Decant beans and grounds into airtight canisters
A folded bag with a clip goes stale and looks messy. Move beans and ground coffee into an airtight coffee canister that keeps them fresh and turns a cluttered counter into something you're happy to look at. Shop on Amazon → A canister with a one-way valve or a tight seal holds flavor far longer than the original bag, and a matching pair — one for beans, one for decaf or a second roast — instantly makes the station feel intentional.
Step 3: Corral the pods so they stop rolling
Loose pods are the mess everyone recognizes. If you use a pod machine, contain them. A pod drawer organizer that sits under the machine holds the whole collection in tidy rows and reclaims the counter the bowl used to sprawl across. Shop on Amazon → If you're short on surface, a slim pod holder on the wall or side of a cabinet keeps favorites at arm's reach and the counter clear. Sort by type so decaf and bold aren't a lucky dip before you've had any caffeine.
Step 4: Get the mugs off the shelf and into reach
Mugs eat cabinet space and always seem to be in the wrong one. Bring your everyday few to the station and store the rest elsewhere. A mug rack — a small tree on the counter or a rail of hooks under a shelf — keeps four or six favorites right where you pour, and turns the mugs themselves into part of the display. Shop on Amazon → Keep only the ones you actually reach for here; the novelty mugs can live in a back cabinet.
Step 5: Contain the little extras on a tray
Sugar, sweetener, spoons, a small jar of cocoa — the fiddly bits are what make a coffee station look cluttered. Gather them on a small tray so they read as one object, not ten. Shop on Amazon → A tray also defines the zone: everything on it belongs, everything off it goes back to the kitchen. If you have vertical room, a tiered shelf riser doubles your usable space, putting canisters up top and mugs or the tray below. Shop on Amazon →
Keep it from creeping back
A coffee station stays calm because it has a clear edge — the cart, the tray, the shelf. Anything that doesn't earn a spot goes back to the kitchen proper. Refill the canisters and restock pods on the same day each week so you're never digging through the pantry mid-yawn, and wipe the surface down as part of the nightly kitchen reset.
The one-minute reset
After you pour, take the extra minute to rinse the spoon, put the pod caddy back square, and set your mug in the sink instead of leaving it beside the machine. That tiny habit is what keeps the station looking like a ritual instead of a pile.
A home coffee station is a small upgrade that pays off before you're even fully awake. Start by gathering everything to one zone this weekend — once you see it all in one place, the right storage almost picks itself.